Tips for Visual Schedules


Visual Schedules are designed to support students throughout the day and help you to manage your Classroom more effectively.                   Here are 7 tips for setting up and getting started!


VISUAL TIPS FOR SCHEDULES

1. Start Simple

Make visuals for just the key times of the day eg, morning work, break, lunch etc,  for your young learners to learn to recognise and correspond with the days activities.

2. Have a laminator

Make the laminator your best friend! If you want all your hard work to last, laminate all mounts and visuals because they are going to go through a tough time!


3. Use wall mounted 

Use a wall mounted schedule that is low enough for your student to access and add detachable symbols of the daily routine. 

4. Use a finished Box

Attach a finished box at the end or side of the schedule to drop in the finished activities as you go along throughout the day. 


5. Use a file folder

A portable schedule can be used in a file folder in the same way as a wall mounted one. I find these easier with older children and more efficient in busy classrooms. Pop their name on it and keep all their individual support visuals in one place. 


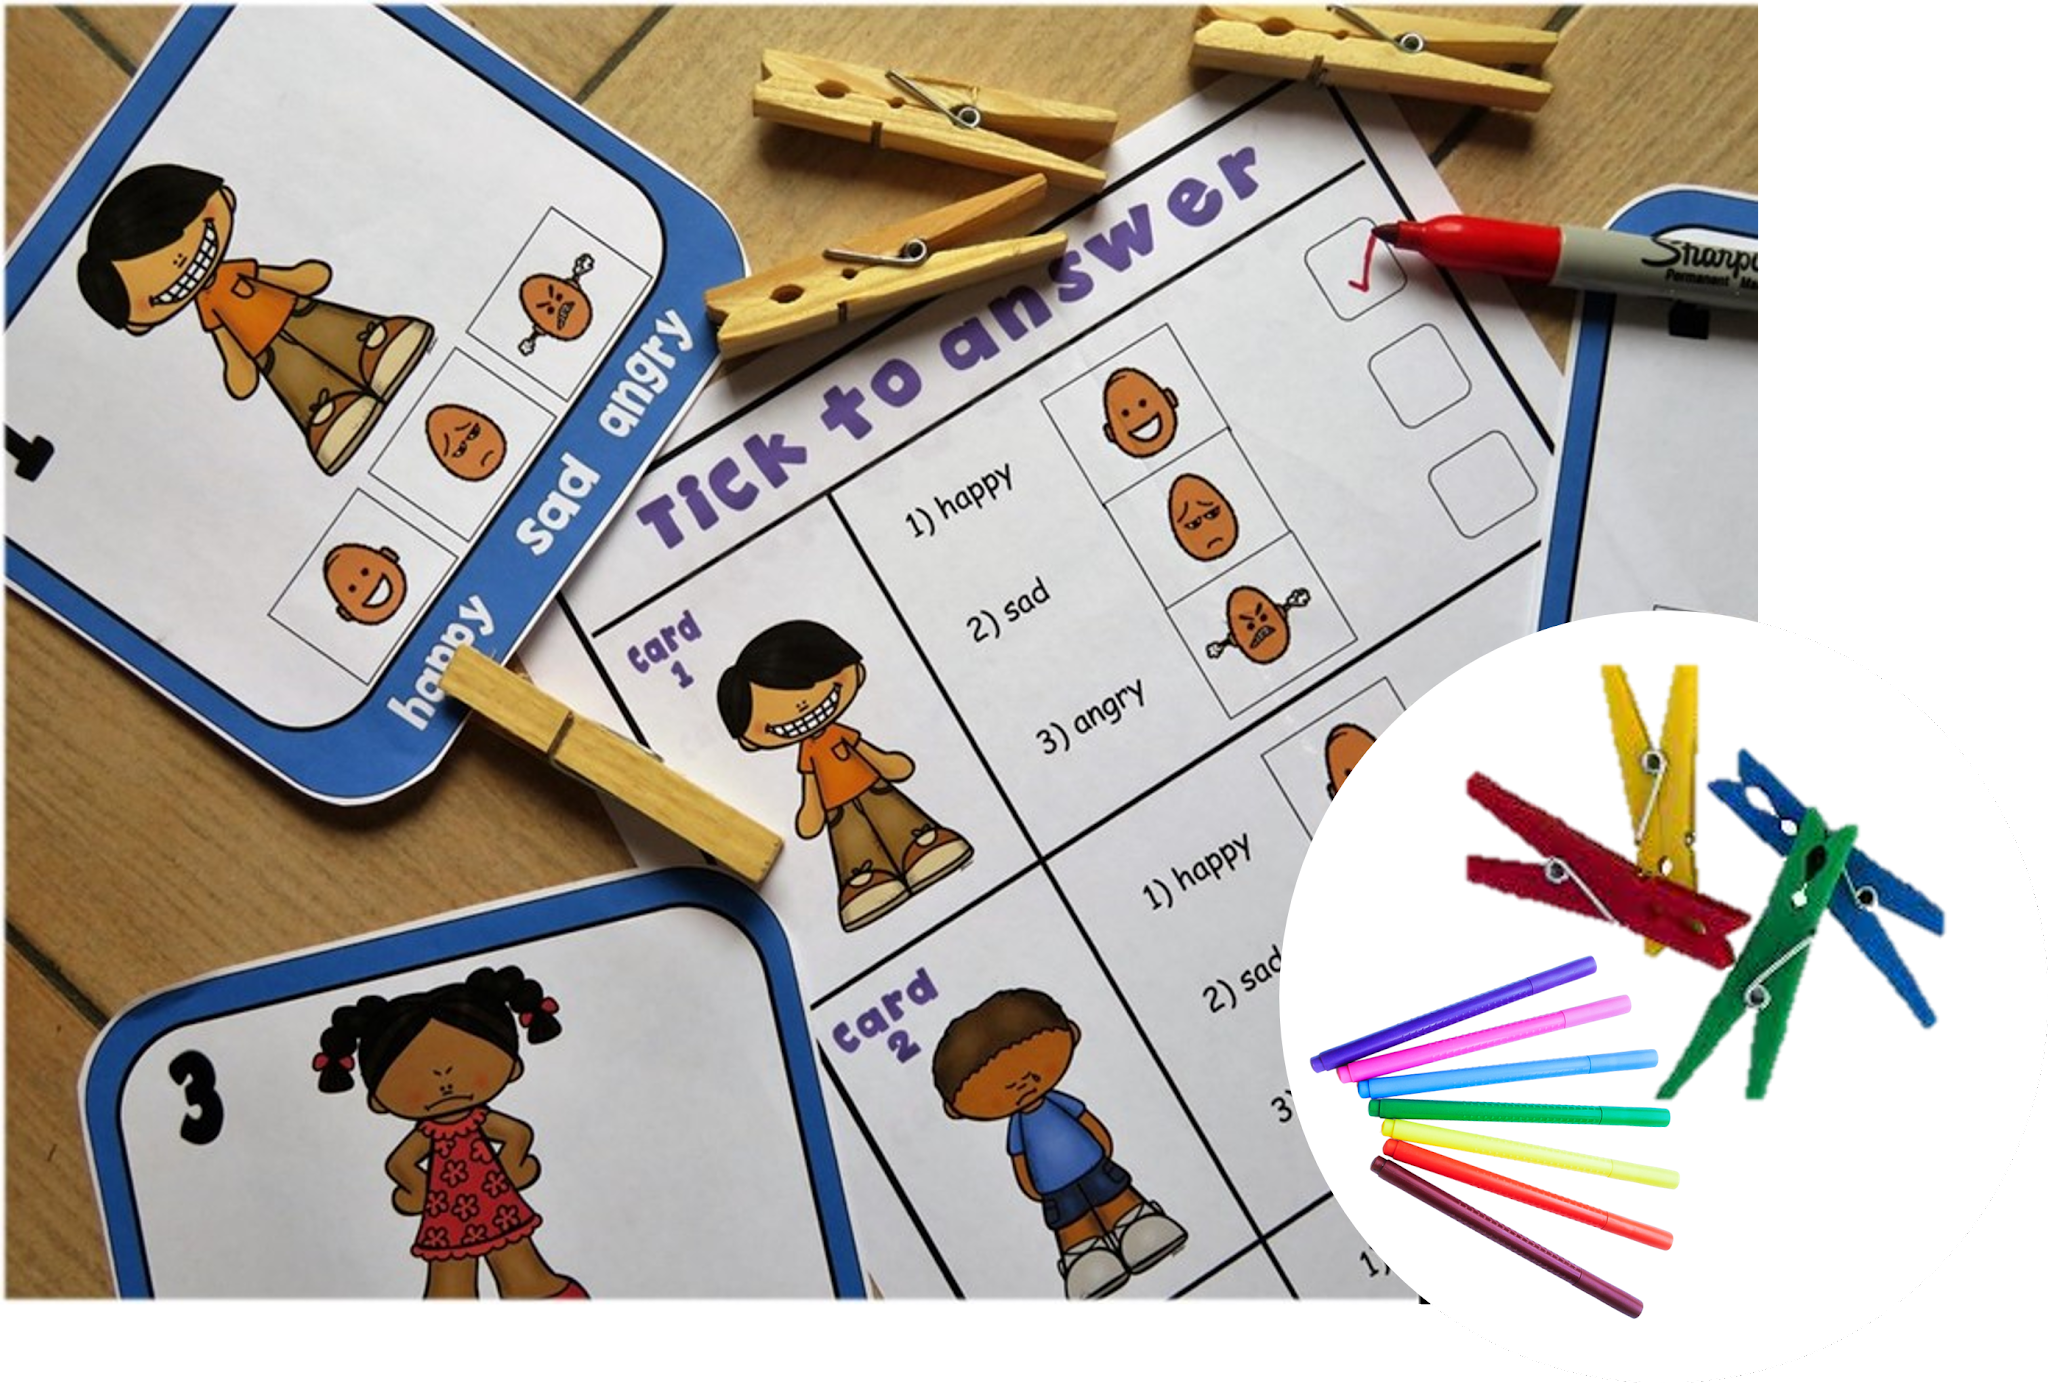
6. Make it with tick off boxes

Remind students to check off as tasks are completed. Tick off boxes are great with portable type schedules.  


7. Use a flip schedule

Flip a cover over to hide the finished task. 

8. Model and Practice

Always model, practice and remind your busy students at the beginning of each activity to, "check schedule".  Make a plan to pull back on all prompting until they begin to use this system independently!


For more schedules check out the links :-

My Visual Supports

Visuals Folder Supports

Daily Planner Binder


Teaching Feelings and Emotions


Many parents and teachers find it difficult to teach young learners with special Ed how to recognise their feelings and emotions.


Teaching young learners how to label their emotions is a difficult skill to learn, and being prepared to seize opportunities when these present naturally is sometimes lengthy. 

In my class I've arranged a number of  activities and Social Stories where students can begin to recognise someone happy, sad, angry and practice labeling facial expressions with visual cues.


The Task cards I created gives my kiddos the opportunity to practice identifying facial expressions and emotions as well as being able to label them correctly with answer sheets! 


To make this activity more fun and interactive my kiddos used pegs to answer first, then dabbers to complete assessments sheets!


 I have also added this resource to my Social Story Bundle!


Visuals for Behavior Management

 Using Visual Cue Cards to Support Students Across the School Day

Visual cue cards are one of the simplest — and most powerful — tools you can use to help students understand expectations, follow routines, and feel calm and confident in different school environments.

Whether it’s in the classroom, the dining hall, or outside during recess, visual cues offer clear, consistent communication — especially helpful for students who are neurodivergent, have communication difficulties, or just benefit from extra structure.


Here’s a guide to setting up and using visual cue cards across key parts of the school day. 


1. In the Classroom: Helping Students Stay Focused and Calm

Visual cue cards in the classroom can:

  • Support transitions

  • Reinforce expectations

  • Prompt behavior gently

  • Promote independence


 Common Classroom Cue Cards:

  • Sit down

  • Listen

  • Good looking / Good sitting

  • Put your hand up

  • Quiet voice

  • First work, then reward

  • Break time

  • Finished

  • Well done! / Great effort!

 How to Set Up:

  • Print cards with both symbols/pictures and text

  • Laminate them for durability

  • Keep them on a ring, lanyard, or small folder for quick access

  • Use them proactively and positively, not just reactively

Tips:

  • Teach the meaning of each cue before using them regularly

  • Pair the visual with simple language (e.g., show “Quiet Voice” and say, “Let’s use quiet voices now.”)

  • Praise when students respond well to a cue


2. In the Dining Hall: Supporting Calm and Respectful Mealtimes

The dining hall can be noisy and overwhelming for many students. Cue cards can help by setting clear, consistent expectations.

 Common Dining Hall Cue Cards:

  • Line up

  • Hold your tray

  • Use quiet voice

  • Wait your turn

  • Eat nicely

  • Use fork/spoon

  • Stay seated

  • All done? Put rubbish in the bin

  • Well done eating!

 How to Set Up:

  • Create a portable cue card set on a ring or small flipbook

  • Use real-life photos or clear symbols (e.g., a child holding a tray, or sitting at a table)

  • Store near the entrance or on the teacher/assistant supervising lunch

Tips:

  • Show the cards before entering the dining area to prepare students

  • Point to the visuals while calmly guiding behavior

  • Use reward cards or praise when expectations are followed (e.g., “Great job waiting your turn!”)


3. Outside at Recess/Playtime: Supporting Safe and Fun Play

Outdoor time is exciting — and sometimes overwhelming. Visual cue cards help students understand boundaries and play safely with others.

 Common Playground Cue Cards:

  • Take turns

  • Use kind hands

  • Ask to join in

  • Stop and listen

  • Come here

  • Time to line up

  • Toileting

  • Quiet time/break

  • Safe hands / feet on the ground

 How to Set Up:

  • Use larger laminated cards on a lanyard or key ring for durability

  • Choose visuals that are bold and clear, visible even from a short distance

  • Practice using them during structured play first (e.g., during PE)

Tips:

  • Teach and rehearse playground expectations with the visuals in a lesson or story

  • Use cue cards to guide students through small conflicts (“Let’s use ‘Take turns’”)

  • Reinforce positive interactions with praise or a reward cue (e.g., “High five!” or “You did it!


Storage Ideas:

  • Lanyard: Easy to wear and grab while on duty

  • Plastic wallet or zip pouch: For desk or tote bag

  • Hooked near doorways: So staff can grab them quickly when transitioning between settings


Why It Works

Visual cue cards are:
 Clear and consistent
 Great for all communication levels
 Calming for anxious students
 Reinforcing for positive behavior
 Easy for all staff to use

Visual cue cards don’t need to be fancy to be effective. Start with just a few key cues for each setting, teach them clearly, and keep them visible. You’ll be amazed how much more smoothly your day runs — and how empowered your students feel.

 Visual Cue Cards 


For more information visits here


Communication Visuals for non -verbal students with Autism

 Critical Communication -


Teaching students new skills such as requesting "break", "help" and "wait" can be tricky for some kids with Special Education Needs.
I  wanted to  support each of my non verbal students with  self -management strategies and tools that were easy to implement, so i created these 


To aid communication, avoid frustration and control behavior in my classroom I knew i had to incorporate these critical skills. 
I added handy visuals on the bottom for my student to tell me.....

  • how they were feeling, by pointing or ticking the box when they needed a "Break", 
  • directions on what to do while they were "waiting" 
  • what they need "help" with


Producing these before behavior starts makes a huge difference in redirecting students as what to do. Support staff love the power of the cards!

I made them in three different sizes, in colour and black & white. 
I use these cards to provide structure in my behaviour support plans and they run in conjunction with ABA Management'.


Daily Planner for Classroom Management

Making Each Day Smoother: Using a Daily Visual Organiser in the Classroom


As teachers, we know how important structure, clarity, and motivation are in helping students thrive — especially for those who benefit from routine and visual support.

A Daily Visual Organiser (DVO) is a simple, effective classroom tool that helps students understand their day at a glance, stay on track, and feel motivated to do their best.

In this post, we’ll walk through how to set one up and use it, with key sections like a daily schedule, motivators, class rules, rewards, and task materials. It’s especially helpful for students with additional learning needs!


1. Daily Schedule: “What’s happening today?”

A clear, visual schedule helps reduce anxiety and improve focus.

Tips:

  • Use icons or photos next to words (e.g., 📚 Reading, 🎨 Art, 🍎 Snack)

  • Display it in order, and refer to it throughout the day

  • Allow students to tick off or remove each item as it’s completed

Example:

  • Morning Work

  • Circle Time

  • Literacy Centers

  • Snack Break

  • Outdoor Play

  • Math Group

  • Story Time

  • Home Time

Keep it consistent, but update for special events.


2. Motivator Choices: “What can I work towards?”

Motivators help students stay engaged. A visual list of choices lets them feel in control.

Examples of motivators:

  • 5 minutes on the iPad

  • Time with a fidget toy

  • Drawing time

  • Choosing the next story

  • Sit by a friend

  • Help the teacher

Tip: Let students choose their motivator at the start of the day or task block. Show it on their organiser to remind them of their goal.


 3. Rules to Follow: “How do we work together?”

Keep a simple set of classroom rules displayed with visuals.

Common classroom rules:

  • Listen with your ears 

  • Keep hands and feet to yourself 

  • Use kind words 

  • Try your best 

  • Ask for help 

Make sure these are positively worded, and teach them explicitly with role play and repetition.


 Why it Works

The Daily Visual Organiser helps:

  • Reduce anxiety and becoming overwhelm

  • Increase independence

  • Encourage positive behavior

  • Support executive functioning and focus

  • Make transitions smoother

Whether you’re teaching one-on-one, in a small group, or a full classroom, this tool can be a game-changer, especially for neurodiverse learners.


My Tips

  • Use velcro, magnets, or whiteboards for flexibility

  • Let students help set it up to build ownership

  • Keep it visible and refer to it often

  • Start small — even just 2 or 3 sections can make a big difference


With a Daily Visual Organiser, every student can feel more confident and calm about their day — and you’ll spend less time repeating instructions and more time connecting with your class.

                                  Shop Here


Scroll Down for Self Regulation Tools


I've created a handy folder for my students with limited verbal skills to keep their visuals in one place!

I added a selection of the visuals and sentence starters they would use throughout the class day to reduce frustration that sometimes is created when they are unable to communicated effectively.


I have also sectioned it off with access tabs in order to find particular visuals easily!

Visit My Store Here


Visual Support for the Classroom: A quick guide for busy teachers

Having behavior management strategies are essential for a successful classroom! In Special Ed teachers will need a more visual approach,... so I've listed the ones I use.


  • Schedules - Visually set out to reflect the order of the day.
  • Timers - For giving a "break", to let students know how long they need to work,  or how long left on free time!
  • Routines - Keep Break, Lunch and free choice the same time each day!
  • Consistency - Ensure all staff are using the same strategies and are following behaviour plans!
  • Positive Reinforcers - Use Token Economy Systems, First and Then, Self -Regulation tools and Reward systems tailored to individual interests and likes!
  • Communication - Critical skills for Functional Communication, a means in which your non verbal student is able to request a "break" "help"  or asked to "wait"

So I decided to put together a Visual Support Book
 I was pleased that it offered all these strategies and kept in one handy place for your students to access through out the school day. There's a section for the schedule symbols, which are also included, Token reward system, plus reward visuals, critical communication cards so students can ask for a Break or Help, all while offering a consistent approach that 
staff can follow!


Tips for implementing the First Then Strategy!

  First–Then Strategy for Autism: A Simple Classroom Management Tool for PreK–2 Special Education If your classroom sometimes feels like its...